Getting started
Installing BotKit
BotKit is available for both Node.js and Deno. You can install BotKit depending on your environment.
Deno
You need to create a new project for your bot and install BotKit as a dependency:
deno add jsr:@fedify/botkitSince BotKit uses the Temporal API which is still unstable in Deno, you need to turn it on in your deno.json settings:
{
  "imports": {
    "@fedify/botkit": "jsr:@fedify/botkit@0.3.0"
  },
  "unstable": ["temporal"]
}
Node.js
You can install BotKit from npm:
npm add @fedify/botkitpnpm add @fedify/botkityarn add @fedify/botkitCreating a bot
To create a bot, you need to create a new TypeScript file and define your Bot instance using the createBot() function:
import {
  createBot,
  InProcessMessageQueue,
  MemoryKvStore,
  text,
} from "@fedify/botkit";

const bot = createBot<void>({
  username: "mybot",
  name: "My Bot",
  summary: text`A bot powered by BotKit.`,
  kv: new MemoryKvStore(),
  queue: new InProcessMessageQueue(),
});
In the above code snippet, we created a new bot instance named bot with the username mybot—the first part of the fediverse handle. The bot will be addressed as @mybot@your-domain in the fediverse.
The name and summary are the display name and the bio of the bot, respectively. Note that the summary is not a string, but a Text object that can be used to format rich text. For more information on Text, see the Text chapter.
The kv is the underlying key–value store that BotKit uses to store data. In the above code snippet, we used the MemoryKvStore class, which stores data in memory for development purposes.
The queue is the message queue that BotKit uses to deal with background tasks. In the above code snippet, we used the InProcessMessageQueue class, which processes messages in the same process for development purposes.
CAUTION
Although MemoryKvStore and InProcessMessageQueue are useful for development, they must not be used in production. You should use a persistent key–value store and a message queue service in production. For more drivers available, see the Fedify's related docs:
Handling events
BotKit supports various events such as onFollow and onMention. You can handle these events by setting the corresponding event handlers on the Bot instance.
Here, we will let the bot publish a direct message when someone follows the bot:
bot.onFollow = async (session, follower) => {
  await session.publish(text`Thanks for following me, ${follower}!`, {
    visibility: "direct",
  });
};
Running the bot
To run the bot, you need to first connect the bot to the HTTP server. There are different ways to run the bot depending on the environment you are using. Here, we will show you how to run the bot in Deno and Node.js.
Deno
We will utilize deno serve command. In order to connect the bot to Deno's HTTP server, you need to export the bot instance as a default export in the bot.ts file:
export default bot;Then, you can run the bot using the following command:
deno serve -A ./bot.tsThen, it will show the following message:
deno serve: Listening on http://0.0.0.0:8000/And your bot will be available at http://localhost:8000/.
Node.js
In Node.js, we will use the srvx package to run the bot. First, you need to install the srvx package:
npm add srvxpnpm add srvxyarn add srvxThen, import serve() function from srvx module:
import { serve } from "srvx";Finally, you can run the bot using the serve() function at the end of the bot.ts file:
const server = serve({
  ...bot,
  port: 8000,
});
await server.ready();
console.log(`Bot is running at ${server.url}`);
Then, you can run the bot using the following command:
node --experimental-transform-types ./bot.tsThe above command will start the bot and it will be available at http://localhost:8000/:
Bot is running at http://localhost:8000/Exposing the bot to the public internet
However, other fediverse servers cannot interact with your bot if it is only available on your local machine. To expose your bot to the public internet, you can use a tunneling service like fedify tunnel, ngrok, Tailscale Funnel, etc.
Since those tunneling services practically act as an L7 reverse proxy, you need to turn on the behindProxy option:
const bot = createBot<void>({
  username: "mybot",
  name: "My Bot",
  summary: text`A bot powered by BotKit.`,
  kv: new MemoryKvStore(),
  queue: new InProcessMessageQueue(),
  behindProxy: true,
});
Here, we will use fedify tunnel to expose the bot to the public internet. Install the fedify command first, and then run the following command:
fedify tunnel 8000The above command will expose your bot to the public internet, and you will get a temporary public hostname that your bot can be accessed from the fediverse:[1]
✔ Your local server at 8000 is now publicly accessible:

https://c4d3933be87bc2.lhr.life/

Press ^C to close the tunnel.
Testing the bot
To test the bot, you can use ActivityPub.Academy, a development-purpose Mastodon instance. ActivityPub.Academy allows you to immediately create an ephemeral fediverse account and provides several tools to debug your ActivityPub application such as Activity Log.
Okay, let's create a new account on ActivityPub.Academy and follow your bot account: @mybot@c4d3933be87bc2.lhr.life—replace c4d3933be87bc2.lhr.life with the domain name assigned by the fedify tunnel command.
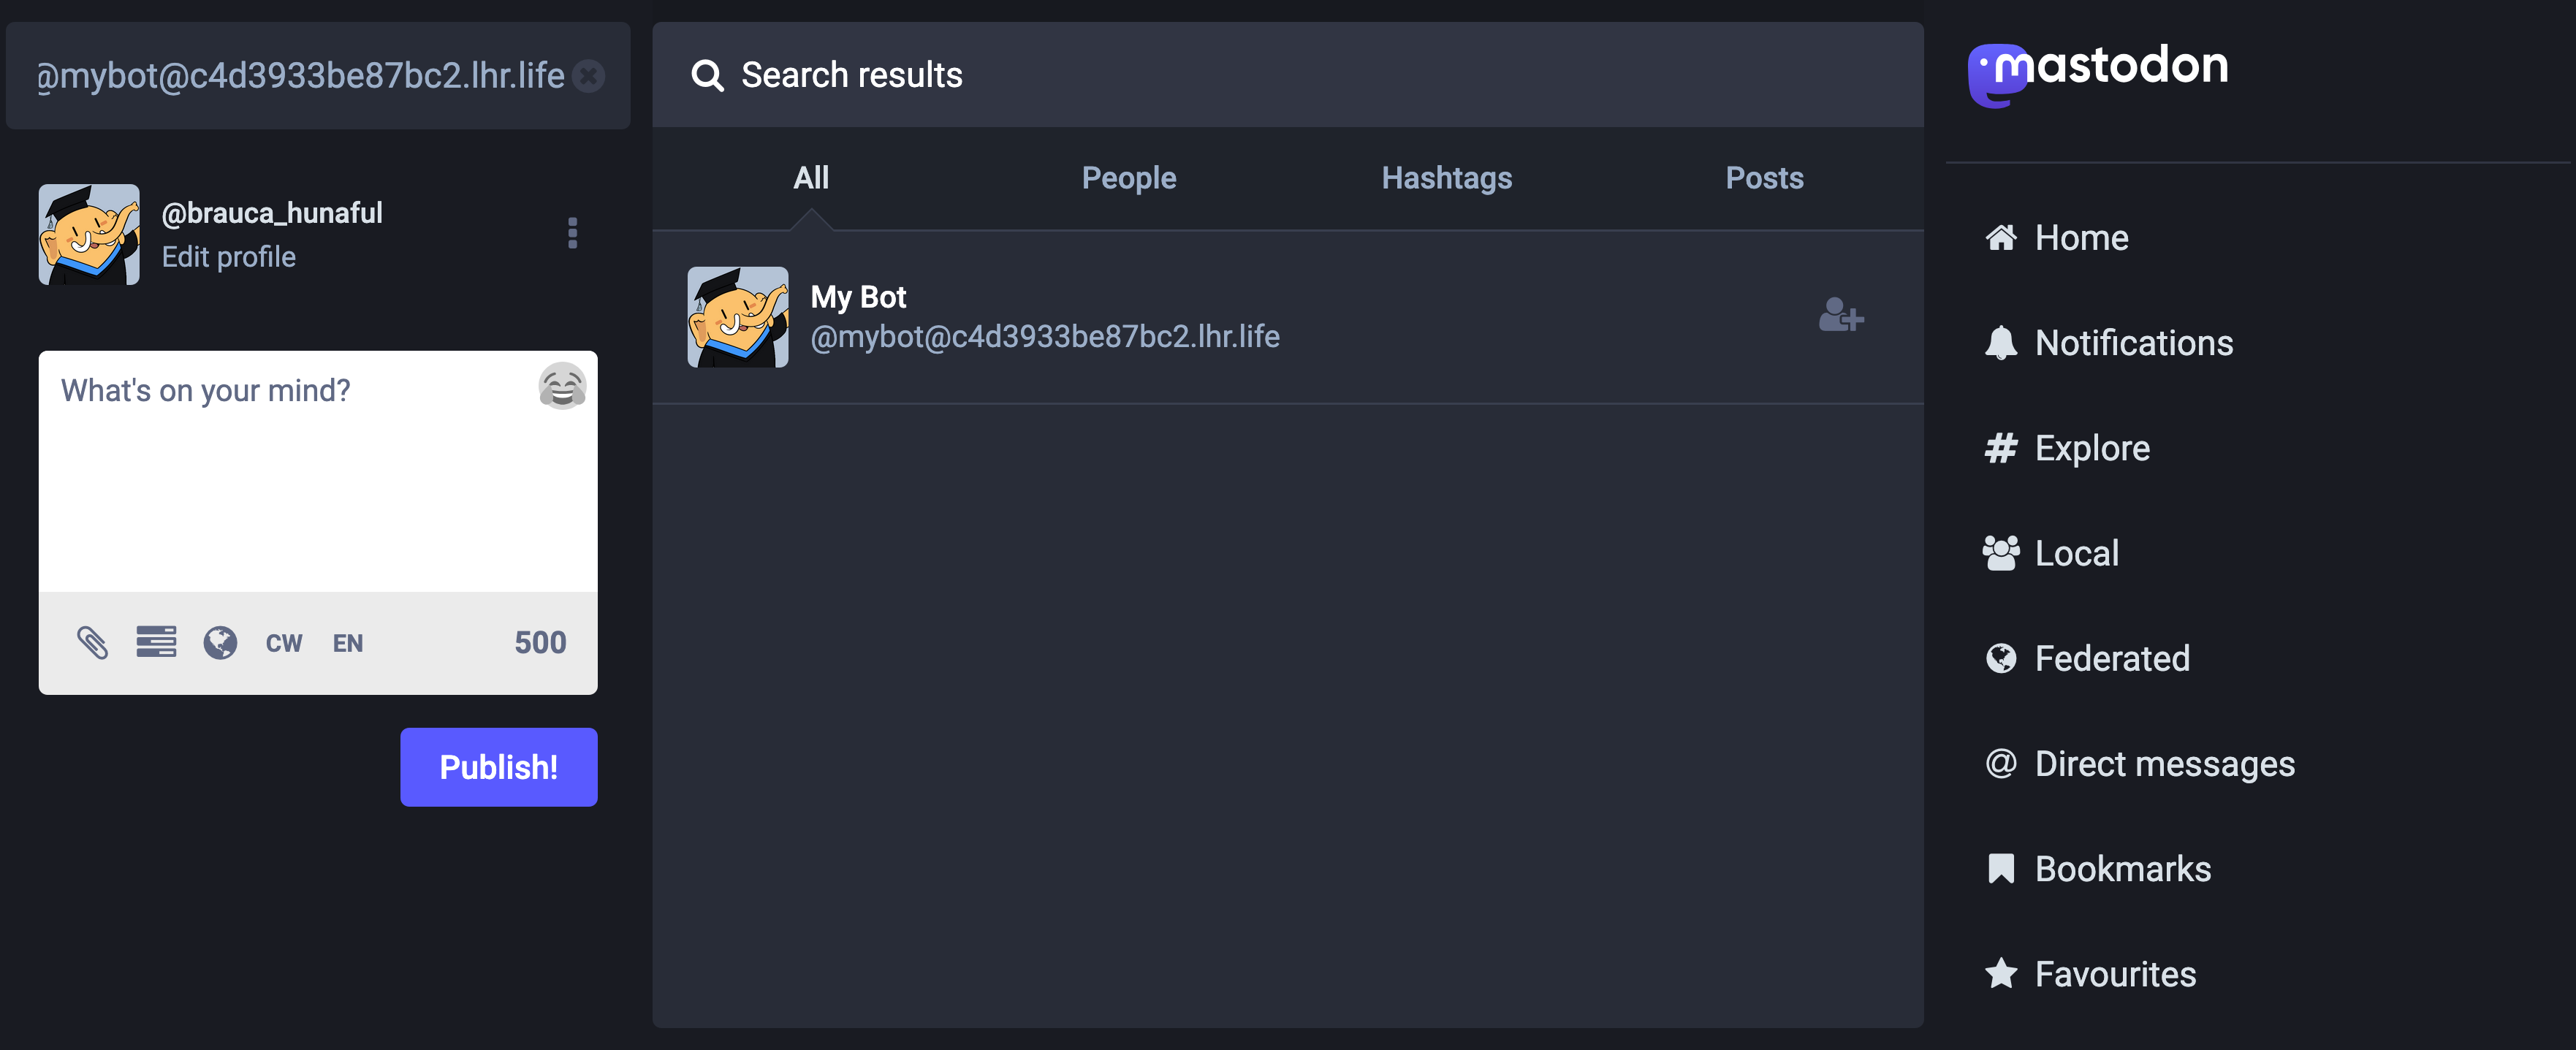
Here's how you can follow your bot account—in ActivityPub.Academy's search bar, type @mybot@c4d3933be87bc2.lhr.life and click the account:
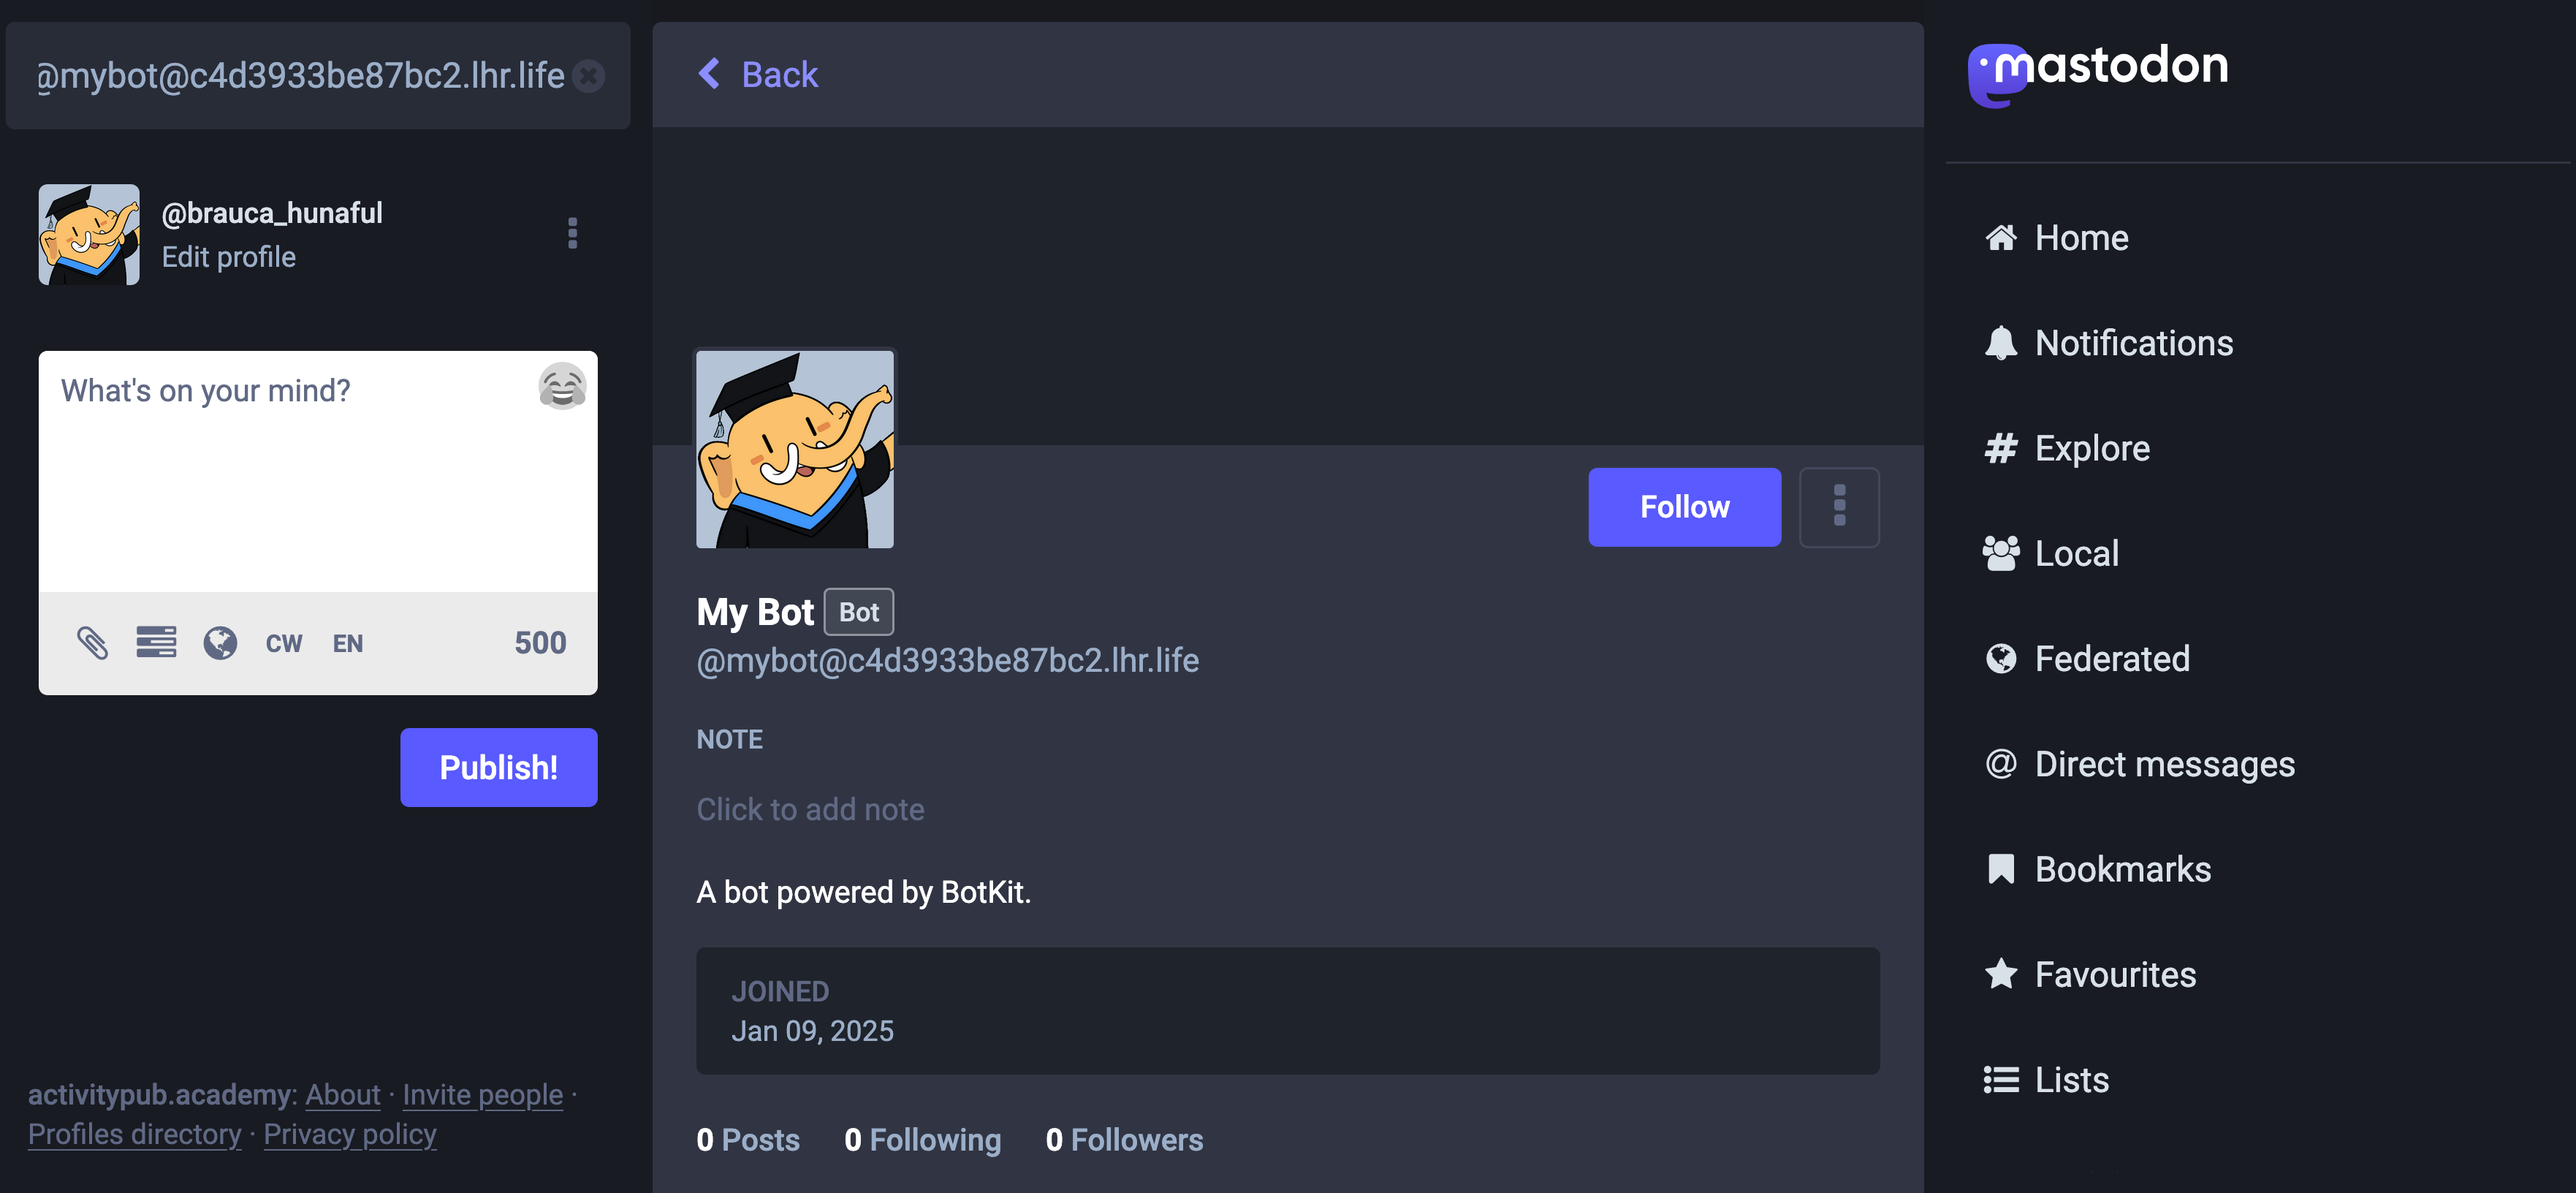
Then, click the Follow button:
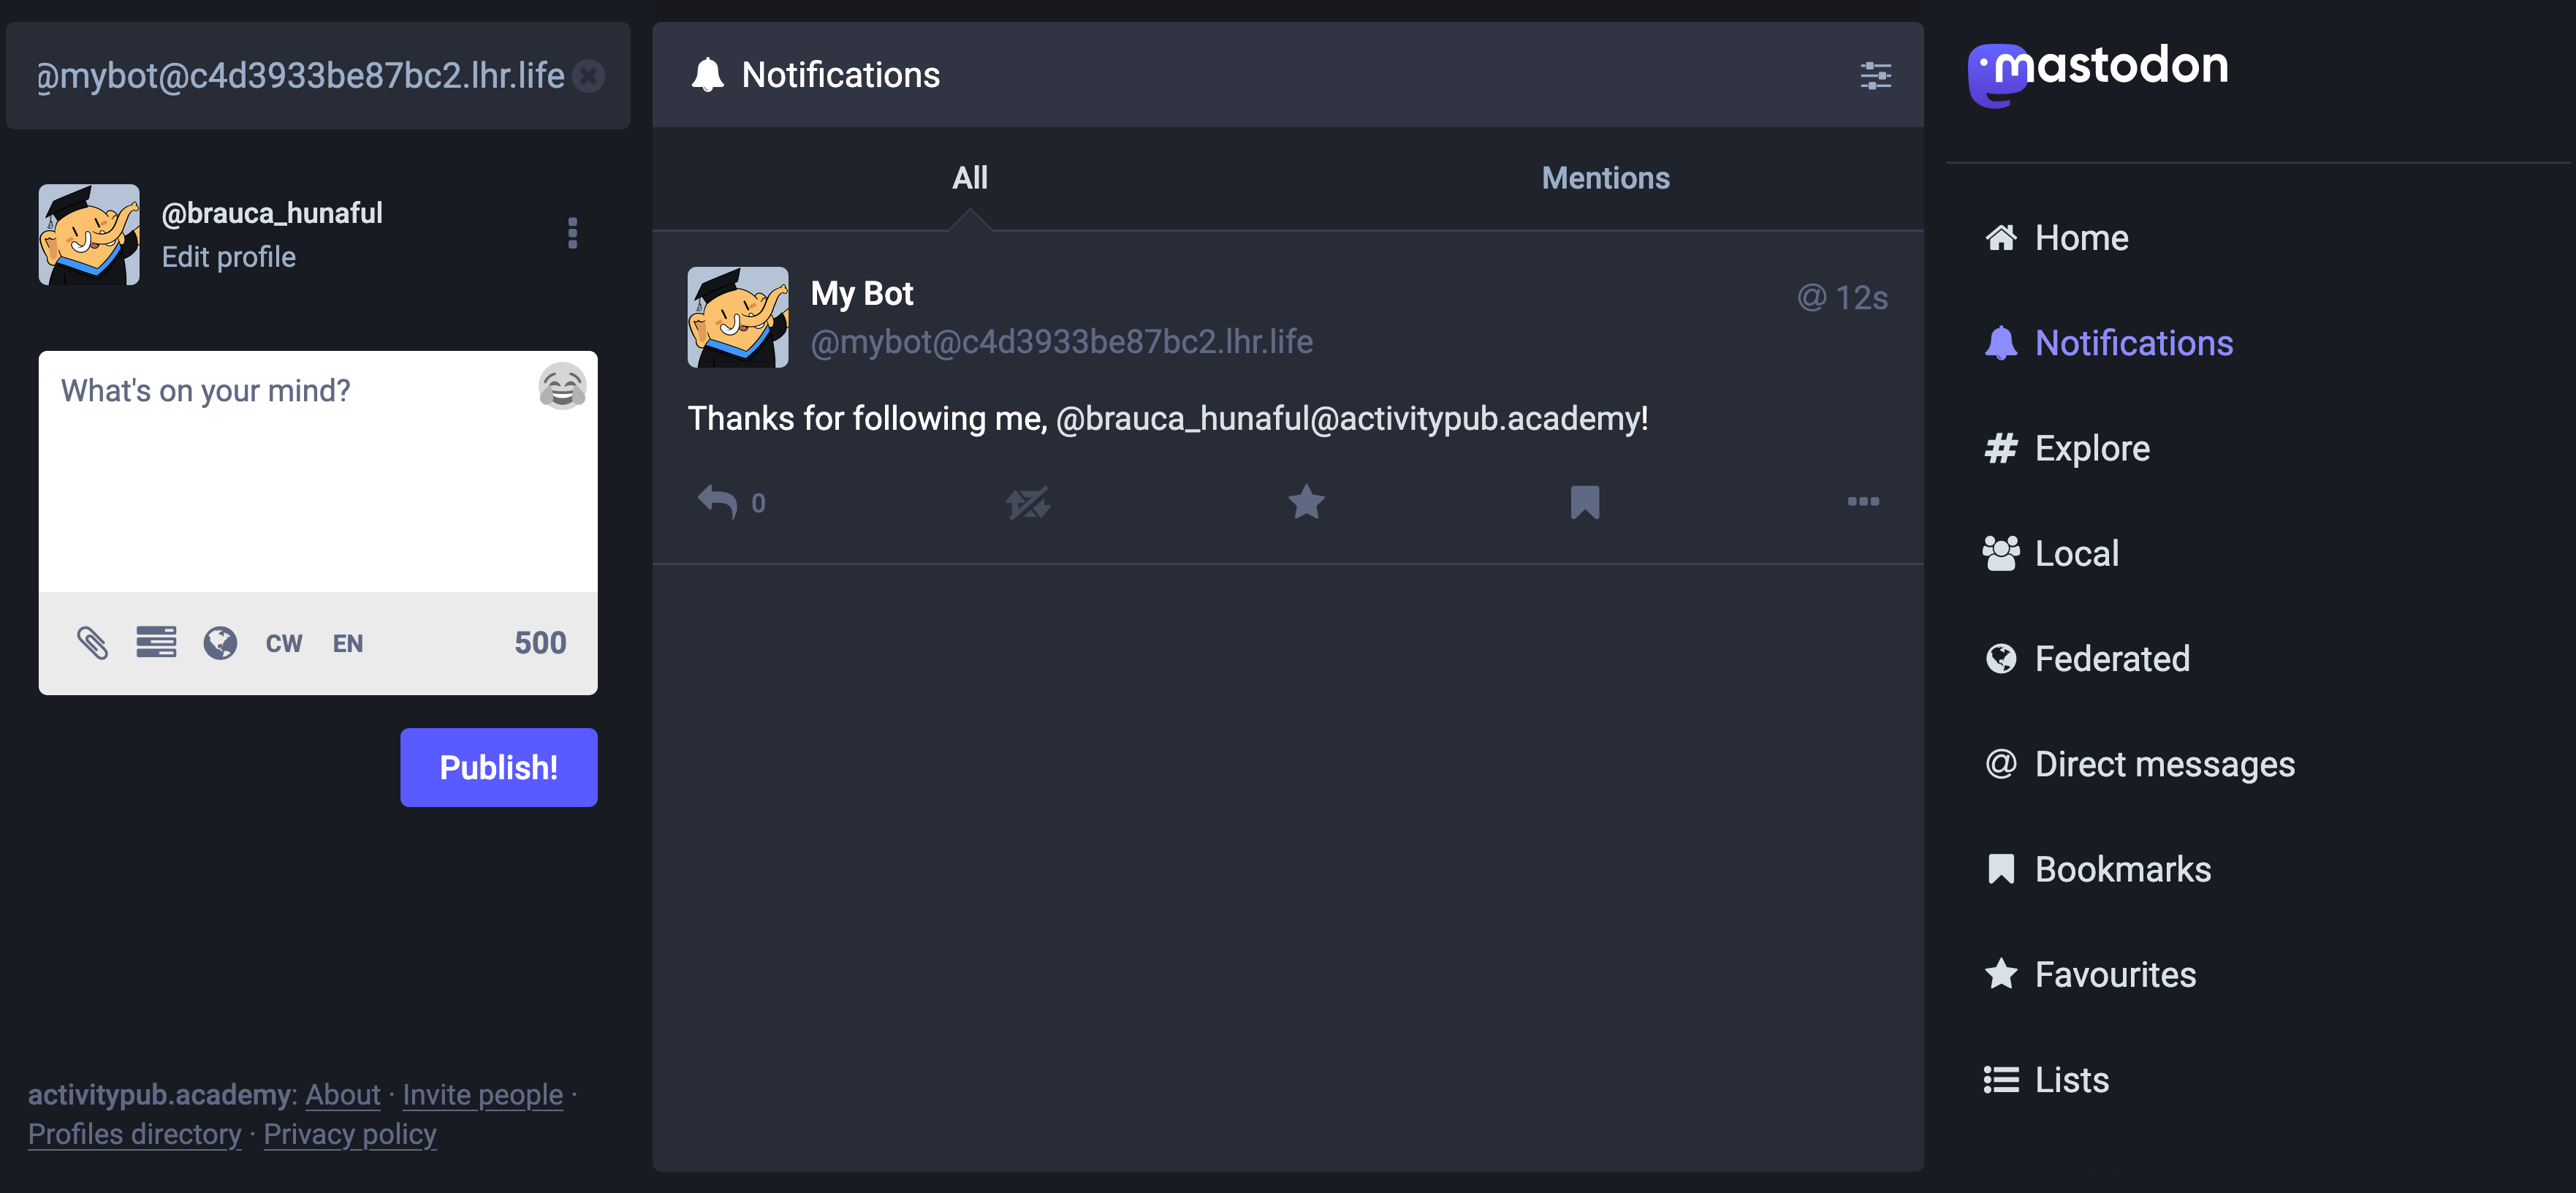
Few seconds later, you will receive a direct message from your bot:
The hostname will be different in your case. ↩︎